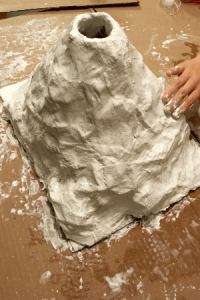
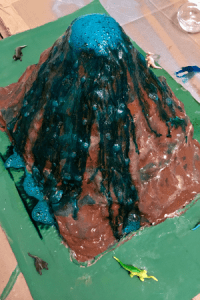
 This STEAM bonus will instruct you on creating your very own dirt volcano. It is so much fun to take science projects outside—this one could get messy. Have fun!
Materials
- You are going to want a grown-up along for this ride!
- Flat baking pan with low sides
- Water
- Sandbox sand or topsoil dirt (to build up your volcano)
- Baking soda
- Vinegar
- 16 oz empty water bottle (to be the center of your volcano)
- Food coloring (for an extra cool effect!)
- Dish soap (just a few drops can be added for some additional foamy, fizzy fun)
 Method
- Take your supplies outside and find a flat space in your yard to get everything set up.
- Fill up the water bottle about a third of the way (and mix in your food coloring if you choose to add it).
- Add about 5 teaspoons of baking soda to the water and put the cap back on the bottle.
- Place some sand or dirt in the baking pan. Stand the bottle upright and using the soil, build up your volcano around the bottle.
- When you have your volcano built as tall as you like it, without going over the top of the bottle, uncap the bottle.
- Add about 1 cup of vinegar to the bottle.
- Stand back! Eruption fun will be happening quickly.
Why Did This Happen?
When baking soda and vinegar mix, they form a gas called carbon dioxide, which then produces a fizzy eruption.
Since a smaller, thinner bottle was used, the shape of the container helps shoot the eruption out higher because the gas is forced up due to the narrow bottle opening.
If you included dish soap in the mixture, it helped add more foam and fizz to the end result.
Notes for Success
- Since we are creating a chemical reaction, it is highly recommended that an adult help measure and supervise the action. After all, who doesn’t like watching things explode (within reason, of course)?
- When building the actual volcano, you will need sand or dirt that is moist, but not soaking wet. If it is too dry, it won’t stick to the bottle to make the volcano. Too wet, and it will sink away in a mudslide situation.
- You will definitely want to find a flat place to work on this project as you don’t want the bottle to tilt or spill when you add the ingredients to it.
- Pre-measure all of the ingredients so that you can add them together relatively quickly.
- If you want to continue experimenting, try varying the amounts of each ingredient and see how that affects your explosion.
This project was borrowed from the Little Bins for Little Hands website.


Add a comment to: STEAM: Erupting Dirt Volcano